Stovetop vs. Oven Seasoning: Which Method Builds a Stronger Layer?
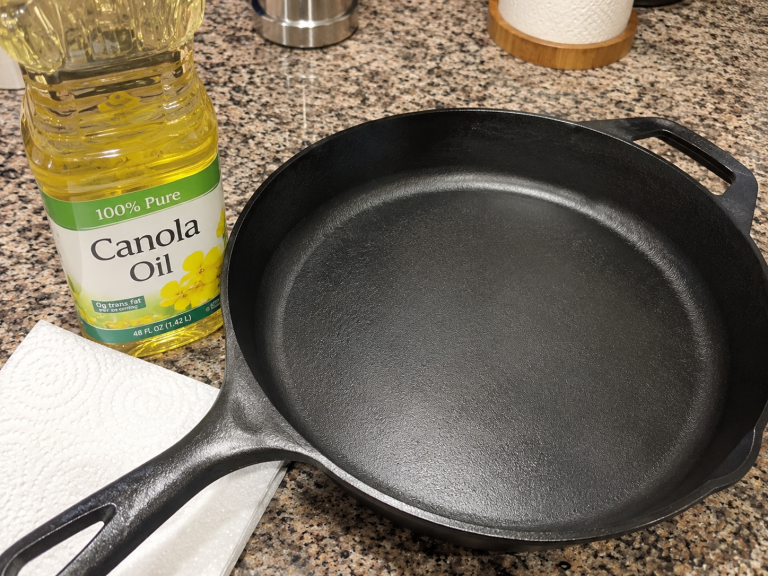
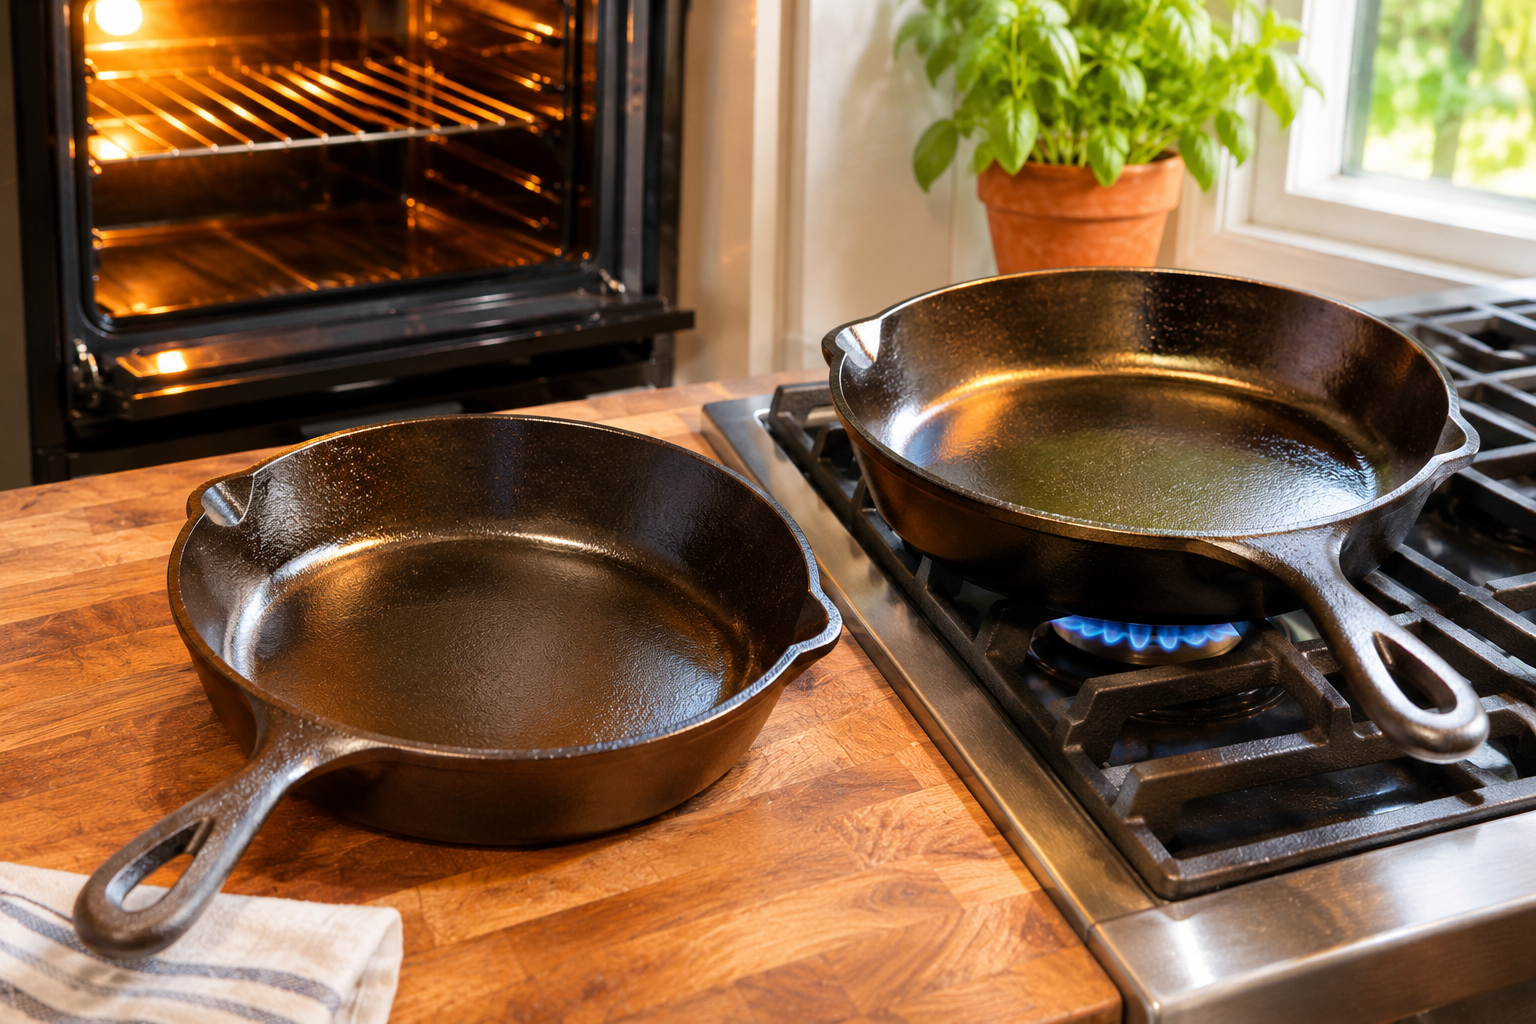
Last spring, I stripped two identical 10-inch cast iron skillets down to bare gray metal to settle an argument in my own kitchen. I seasoned Skillet A three times in a 450°F oven, and I seasoned Skillet B three times over a medium-high gas burner.
After three weeks of frying eggs, searing chicken thighs, and simmering pan sauces, the difference was obvious. Oven seasoning builds a harder, uniform armor over the entire pan, while stovetop seasoning gives you fast, localized touch-ups when your cooking floor starts looking dull.
Quick Supply Checklist for Both Methods
-
- 10-inch or 12-inch cast iron skillet (clean and bone-dry)
- Refined grapeseed or canola oil (1/2 teaspoon per coat)
- Two clean, lint-free cotton shop towels
- Long-handled kitchen tongs (crucial for wiping oil inside a blazing-hot pan on the stove)
- Infrared surface thermometer (optional, takes the guesswork out of burner heat)
- Heavy-duty oven mitts rated to 500°F
Side-by-Side Test: How Both Methods Performed
Before jumping into the exact steps, here is how both methods stacked up in my kitchen test:
| Factor | Oven Seasoning (450°F) | Stovetop Seasoning (Medium-High Burner) |
| Total Time per Coat | 1 hour 45 minutes (includes cooldown) | 12 to 15 minutes |
| Coverage Area | 100% of pan (inside, walls, handle, bottom) | Cooking floor and lower 1 inch of walls only |
| Smoke Level | Low to moderate (contained inside oven) | High (direct open-air smoke into kitchen) |
| Layer Hardness | Very hard, even satin-matte shell | Slightly softer, slicker surface patch |
| Best Use Case | Brand-new pans, stripped pans, rust recovery | Daily post-wash touch-ups, egg-sticking fixes |
Step 1: When and How to Use Oven Seasoning (The Structural Base)
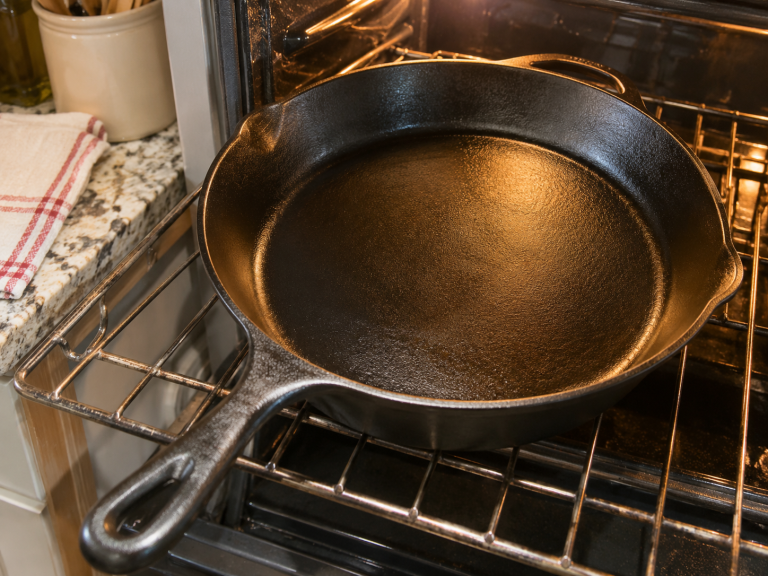
Oven seasoning surrounds the entire skillet in steady, 360-degree dry heat. Because the sidewalls, rim, and underside reach the exact same temperature as the cooking floor, oil polymerizes evenly without hot spots or bare edges.
Exact Oven Seasoning Steps
-
- Preheat the skillet in a 200°F oven for 15 minutes so the metal pores open up.
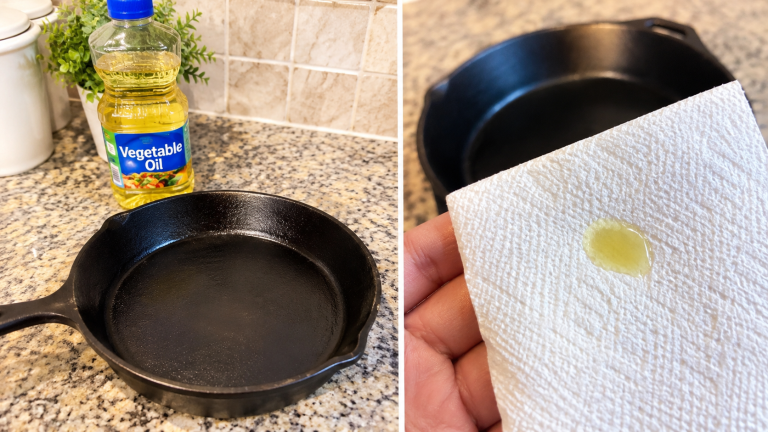
- Rub 1/2 teaspoon of grapeseed oil across every square inch—inside, outside, handle, and bottom—using your first cotton towel.
- Buff the pan completely dry with your second clean towel until no wet shine remains.
- Place the skillet upside down on the center rack of a 450°F (232°C) oven for 60 minutes.
- Turn off the heat and let the skillet cool inside the closed oven for 45 minutes before handling.
What It Feels and Looks Like When Done Right
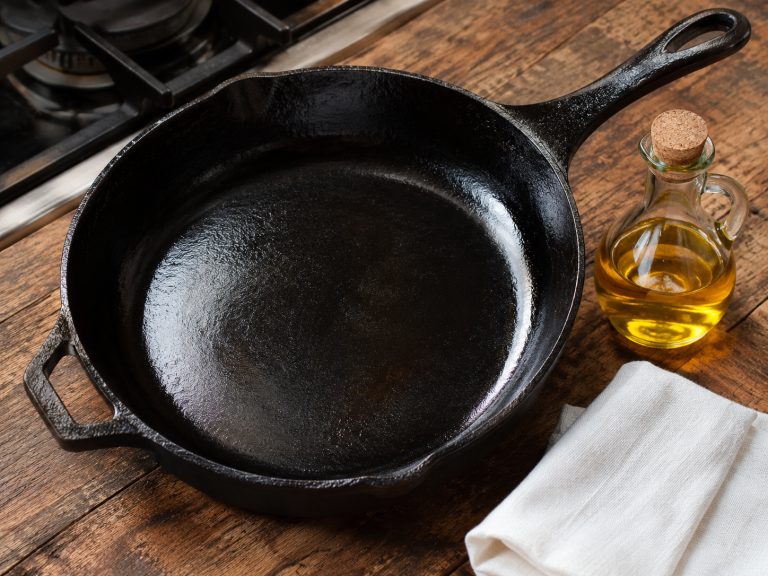
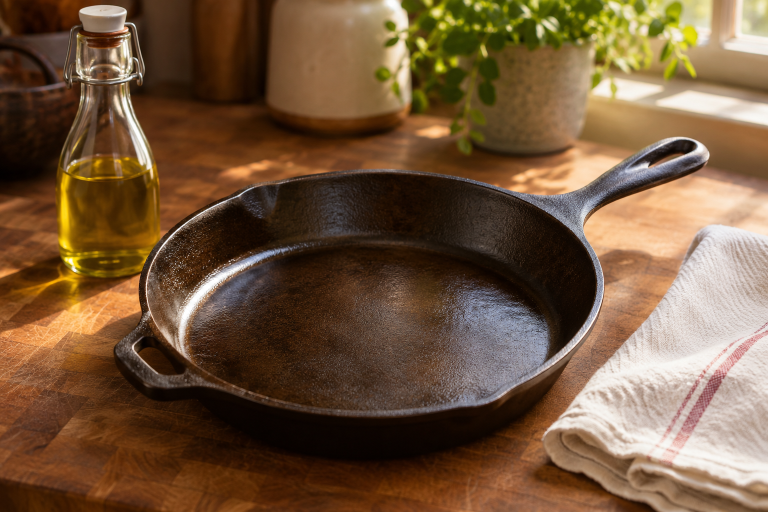
Pull the pan out once it drops below 150°F. The surface should look dark bronze-black with a smooth, dry satin finish—if you drag a dry fingernail across the center, it feels like hard slate rather than wax.
Step 2: When and How to Use Stovetop Seasoning (The 12-Minute Repair)
Stovetop seasoning concentrates intense heat directly onto the flat cooking center. It takes a fraction of the time and electricity, making it ideal right after you scrub off stubborn food or cook something slightly acidic.
Exact Stovetop Seasoning Steps
-
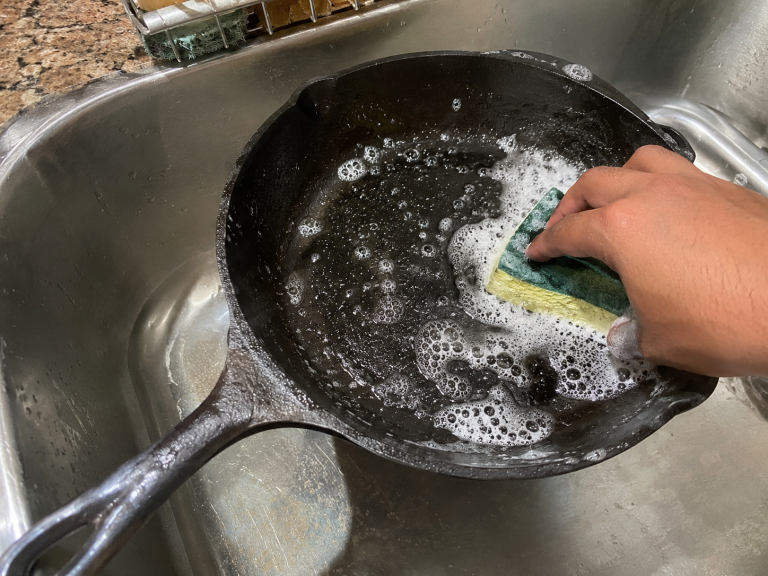
- Dry the washed skillet over a low flame for 2 minutes until every drop of water evaporates.
- Turn the burner up to medium-high and heat the dry skillet for 3 to 4 minutes until the cooking floor reaches 425°F–450°F (just starting to show faint wisps of smoke).
- Add 1/2 teaspoon of canola or grapeseed oil to the center.
- Use tongs holding a folded cotton towel to smear the oil across the cooking floor and lower walls—keep your bare fingers far away from the hot rim.
- Keep heating for 5 to 7 minutes while wiping the floor twice more with the cloth as the oil smokes lightly and turns dry.
- Kill the burner and let the pan cool naturally on the grate for 20 minutes.
What It Feels and Looks Like When Done Right
During heating, you will smell a sharp, nutty toasted-oil aroma for about two minutes, followed by silence once the smoke stops. The cooking floor turns noticeably darker and slicker than the upper sidewalls.
What Goes Wrong in Real Life (And How to Fix It)
Scenario 1: A Bare Gray Ring Appears in the Center on the Stovetop
You crank your gas or electric burner to high to speed up stovetop seasoning, and five minutes later a chalky gray circle appears right over the burner ring. You pushed the center past 550°F and burned the existing seasoning straight off the iron.
-
- The fix: Drop the burner to medium immediately and let the skillet cool for 10 minutes. Wipe 1/4 teaspoon of oil over the gray spot, heat gently at medium (around 425°F) for 6 minutes until it darkens back to brown, and avoid high burner settings for dry pans.
Scenario 2: The Bottom of the Pan Rusts After Months of Stovetop-Only Care
You only ever season your skillet on the burner after washing. Six months later, you flip the pan over and spot orange rust speckles along the outer sidewalls, handle base, and heat ring.
-
- The fix: Scrub the rusty exterior spots with fine steel wool and warm water until bare metal shows, dry it immediately on a burner, and run one full 450°F oven cycle with oil wiped over the entire exterior to seal the exposed iron.
Common Mistakes I Made (And How to Avoid Them)
-
- Using paper towels during stovetop seasoning: Cheap paper towels shred against rough cast iron texture and can scorch when pressed onto a 450°F burner-heated pan. Always fold a thick cotton shop towel and hold it with metal tongs.
- Pouring oil into a cold skillet on the stove: Cold oil pools unevenly and smokes heavily before the iron reaches polymerization temperature. Always preheat the dry skillet for 3 minutes first, then wipe in your thin oil film.
- Skipping oven seasoning on a stripped or rusty pan: Stovetop heat never gets the upper sidewalls or handle hot enough to polymerize oil. Always lay down 2 to 3 oven coats first, then switch to stovetop maintenance.
- Leaving the kitchen during stovetop seasoning: Stovetop seasoning moves fast—a pan can go from “smoking nicely” to “burning off seasoning” in 90 seconds. Stay right by the stove with the exhaust fan on high.
Frequently Asked Questions
Can I skip oven seasoning completely if I buy a pre-seasoned skillet?
Yes, if your skillet came pre-seasoned from a reliable brand like Lodge, you can start cooking right away and use quick stovetop seasoning after your first five meals to smooth out the cooking floor.
Why does stovetop seasoning smell stronger than oven seasoning?
On a stovetop, oil vaporizes directly into your kitchen air at close range, whereas an oven traps and breaks down most of the smoke inside an enclosed box. Always turn on your range hood and crack a window before seasoning on a burner.
Does stovetop seasoning work on glass-top electric or induction stoves?
Yes, as long as you heat the pan gradually on medium rather than blasting it on high. Rapid high heat on induction coils can warp the center of a dry skillet before the outer rim warms up.