How to Properly Preheat a Cast Iron Pan for Even Cooking
If you have ever burned the center of a pancake while the outer edges stayed raw, or watched a thick steak stick stubbornly to the bottom of your skillet, the problem was almost certainly how you preheated the pan. Most home cooks treat cast iron just like thin aluminum or non-stick cookware—turning the burner straight to high and tossing food in sixty seconds later.
Cast iron behaves completely differently from lightweight pans. It is a poor conductor of heat, meaning heat travels slowly across the metal, but it is an incredible retainer of heat once warmed up. Taking just five extra minutes to preheat your skillet properly eliminates scorching hot spots, stops food from sticking, and gives you restaurant-quality sears every single time.
Why Cast Iron Needs a Slow Preheat
Understanding how heat moves through heavy iron explains why rushing the burner ruins dinner:
-
- Hot Spots in the Center: If you blast a cold skillet over a high gas flame or electric coil, the middle of the pan directly over the heat source shoots up to 500°F while the outer rim is still lukewarm at 150°F. Food placed in the center burns instantly while food near the edges steams instead of browning.
- Thermal Shock and Warping: Heating one spot of thick iron too fast causes the metal to expand unevenly. Over time, this stress can warp the bottom of your skillet so it spins like a top on flat glass stoves—or even crack the pan in half.
- Sticking Problems: When cold food hits unevenly heated iron, proteins grip tightly to the cooler metal pores instead of searing cleanly and releasing.
The Step-by-Step Guide to Preheating Cast Iron
Follow this simple, foolproof routine every time you pull your skillet out of the cabinet:
Step 1: Start With a Dry Pan on Low Heat
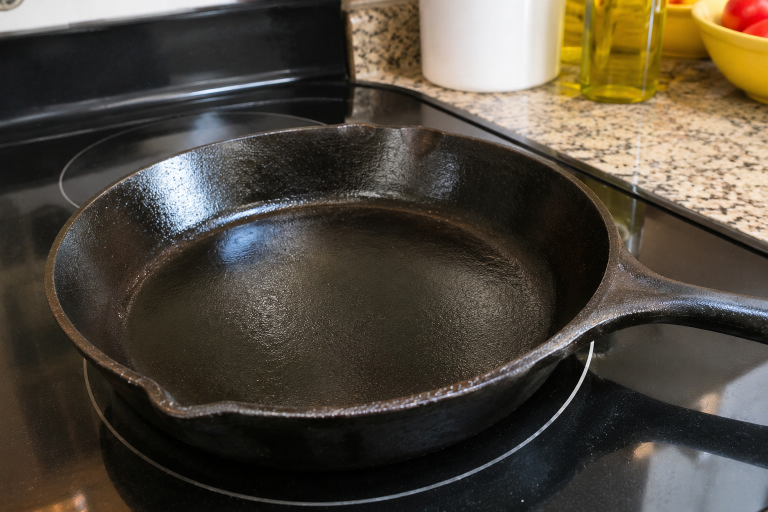
Place your clean, dry cast iron skillet onto a burner that matches the size of the pan’s bottom as closely as possible. Turn the heat to low (around level 2 or 3 out of 10) and let the empty pan sit undisturbed for 3 to 5 minutes.
Starting on low gives heat enough time to travel slowly outward from the center ring all the way up the sidewalls and into the handle.
Step 2: Step Up Gradually to Your Target Temperature
Once the entire skillet feels evenly warm, adjust the burner depending on what you are cooking:
-
- For Eggs, Pancakes, and Grilled Cheese: Stay right on low or nudge up slightly to medium-low (level 3 or 4). Cast iron holds so much thermal energy that medium-low on iron cooks just as hot as medium-high on thin aluminum pans.
- For Sautéing Vegetables and Chicken: Turn the burner to medium (level 5) and wait 2 more minutes before adding your oil.
- For Searing Steaks, Burgers, or Chops: Turn the burner to medium-high (level 7) for 2 to 3 minutes. You rarely ever need the maximum “high” setting on a home stove when cooking with cast iron.
Step 3: Add Cooking Oil Right Before the Food
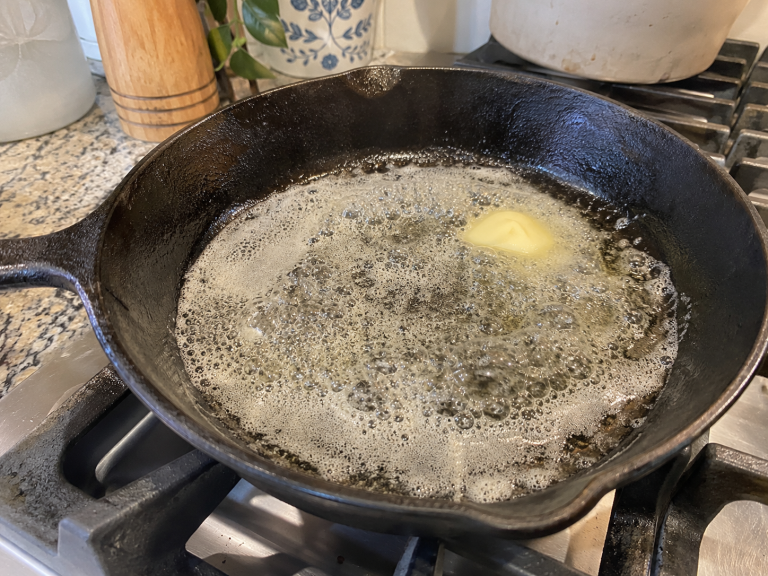
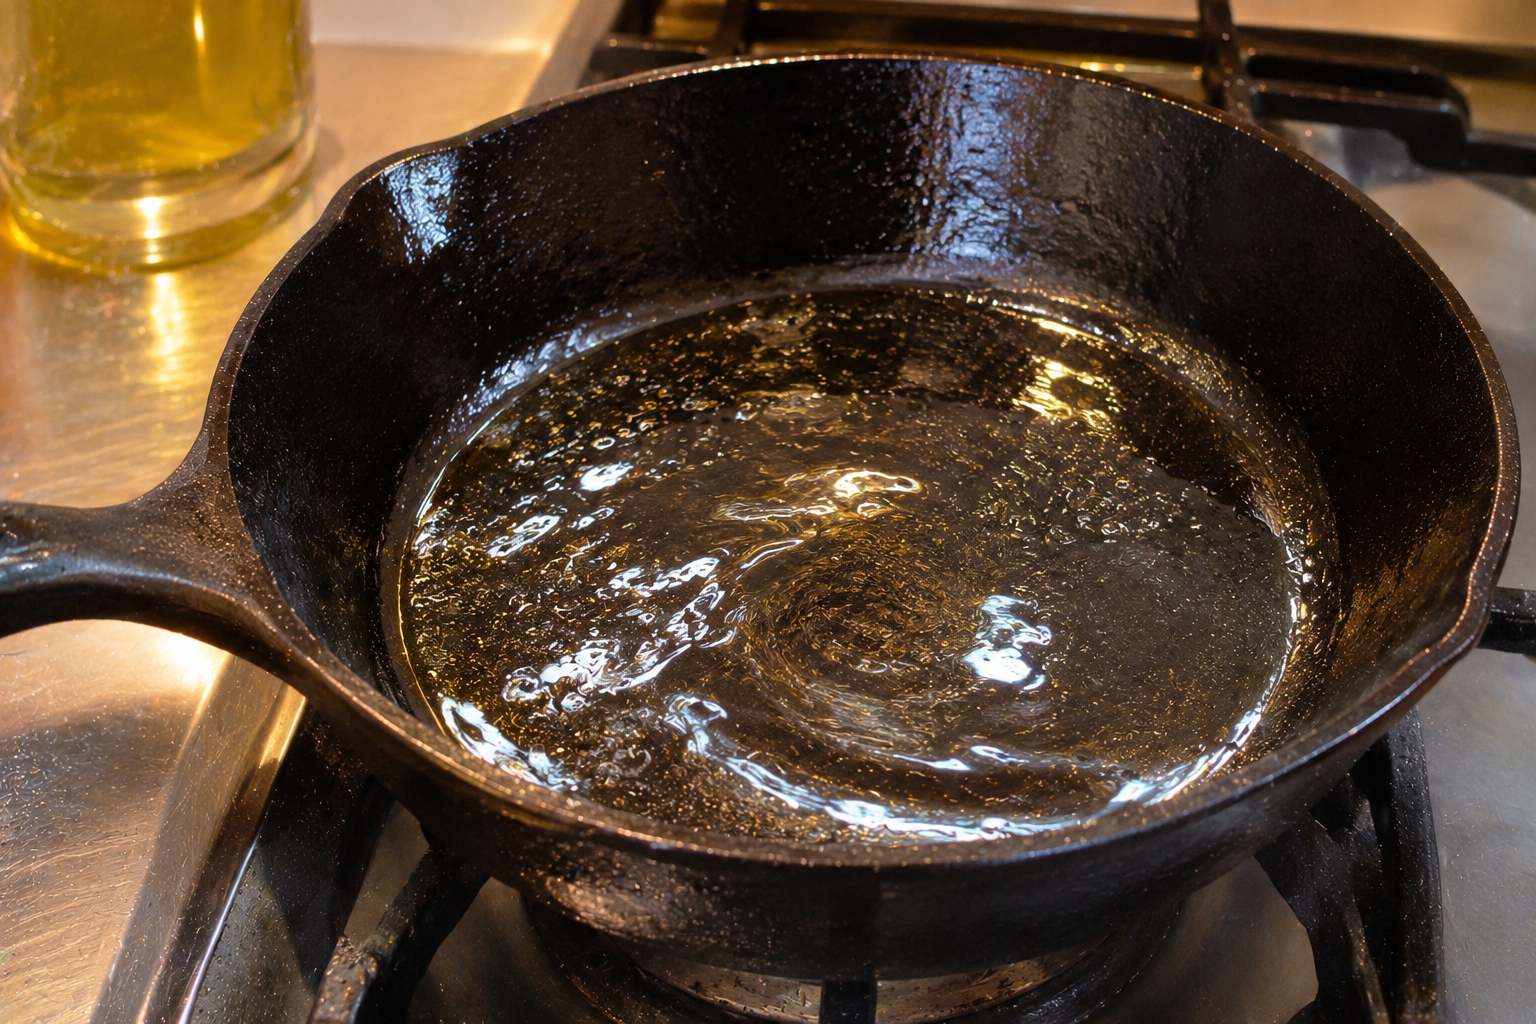
Always preheat your cast iron skillet dry, then add your cooking oil or butter just 15 to 30 seconds before putting your food in.
If you pour oil into a cold pan and let it sit for five minutes while preheating, the oil will break down, smoke up your kitchen, and turn sticky before your food even touches the metal. When you add oil to an already hot pan, it warms up in seconds, shimmers smoothly across the surface, and stays fresh.
3 Easy Ways to Tell When Your Skillet Is Ready
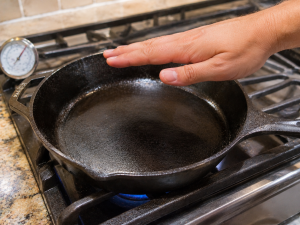
You do not need an expensive infrared thermometer gun to know when your pan is properly preheated. Use one of these three simple kitchen tests:
1. The Handle Warmth Test
Gently touch the base of the cast iron handle where it meets the pan (always be ready to pull your hand back quickly). Because the handle is the farthest point from the burner, once the base of the handle feels noticeably warm, you know heat has traveled evenly across the entire cooking surface.
2. The Oil Shimmer Test
Swirl a tablespoon of high-heat oil (like canola, avocado, or grapeseed oil) into the preheated skillet. When the pan is ready, the oil will thin out like water and form faint, wavy ripples across the surface without smoking heavily.
3. The Water Drop Test
Flick two or three tiny drops of tap water onto the dry cooking surface:
-
- If the water sits still or bubbles slowly: The pan is still too cold. Wait another minute.
- If the water sizzles briskly and evaporates in 2 seconds: The pan is at an ideal medium temperature for pancakes, eggs, and vegetables.
- If the water droplets dance across the pan like tiny mercury beads before vanishing: The pan is blazing hot and ready for searing steaks.
Special Tip: The Oven Preheat Trick for Thick Steaks
If you want the most even, edge-to-edge heat possible for searing thick ribeye steaks or roasting crispy potatoes, preheat your skillet inside your oven. Place the dry skillet on the middle oven rack, set the oven to 450°F (230°C), and let it heat up for 15 minutes.
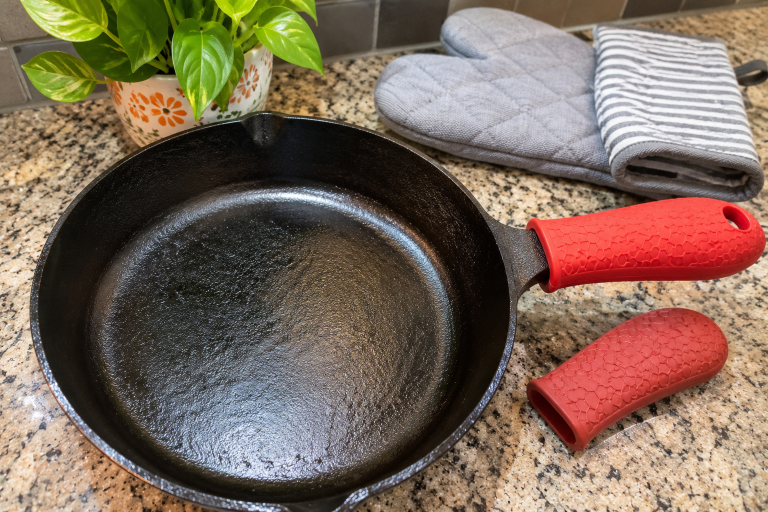
Using thick oven mitts, transfer the scorching-hot skillet onto a medium-high stove burner, add a splash of oil, and lay your steak down. Because every square inch of the pan was heated evenly inside the oven, you get a deep, uniform crust across the entire steak with zero cold spots.
Frequently Asked Questions
Is it safe to preheat an empty cast iron skillet?
Yes! Unlike Teflon or ceramic non-stick pans—which release toxic fumes or peel when heated empty—bare cast iron is built to be preheated dry. Just keep the burner on low or medium-low during the first few minutes and never walk away and forget an empty pan on high heat.
Why does my skillet smoke even before I add food?
If your dry skillet starts smoking during preheating, either your burner is turned up too high or you left too much leftover oil on the pan after washing it last time. Lower the burner immediately, wipe out any excess oil with a folded paper towel using tongs, and let the pan cool for a minute before adding fresh cooking fat.