How to Season a Brand-New Cast Iron Skillet Step by Step
My first brand-new 10-inch cast iron skillet looked like a sticky, tiger-striped mess after my first seasoning attempt. I poured a tablespoon of flaxseed oil straight into the cold pan, baked it at 375°F for 30 minutes, and watched the coating peel off onto my first fried egg.
After testing six oils and dozens of oven cycles across bare and factory pre-seasoned skillets, I nailed down a simple routine that actually bonds to bare iron. Follow this exact oven-seasoning process with precise temperatures, bake times, and coat counts to build a slick, durable finish on day one.
Quick Supply Checklist Before You Start
-
- Brand-new cast iron skillet (8-inch to 12-inch raw or factory pre-seasoned pan)
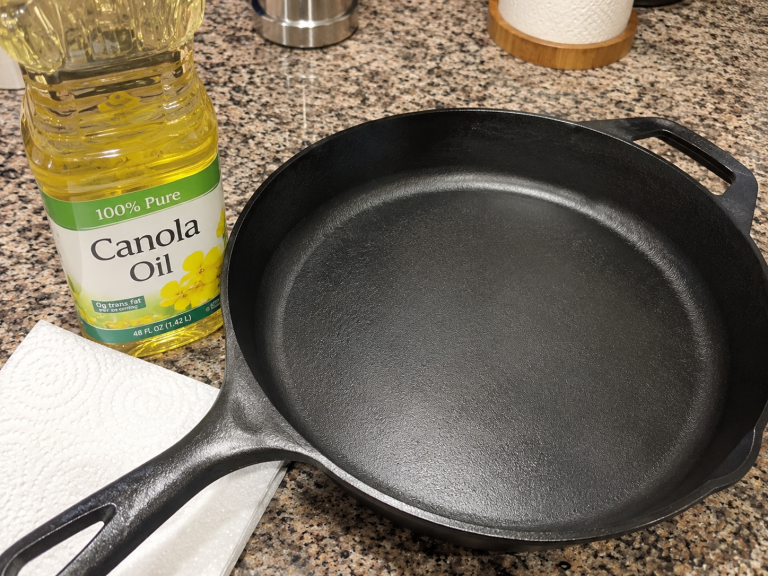
- High-smoke-point neutral oil: Refined canola oil, grapeseed oil, or sunflower oil (avoid extra-virgin olive oil or butter)
- Two lint-free cotton shop towels or old cut-up white cotton T-shirts (paper towels leave tiny white fuzz)
- Warm water and 2 drops of mild liquid dish soap
- Stiff nylon scrub brush or non-scratch sponge
- Heavy-duty aluminum foil or a large rimmed baking sheet for the lower oven rack
- Thick silicone oven mitts rated to at least 500°F
Step 1: Scrub Off Factory Wax and Dust
Even if your skillet arrives labeled “pre-seasoned,” it carries warehouse dust, shipping grease, or a thin soy-oil spray that feels slightly gritty. You need clean, bare-feeling iron before adding new oil.
-
- Run hot tap water (around 110°F–120°F) over the skillet for 20 seconds.
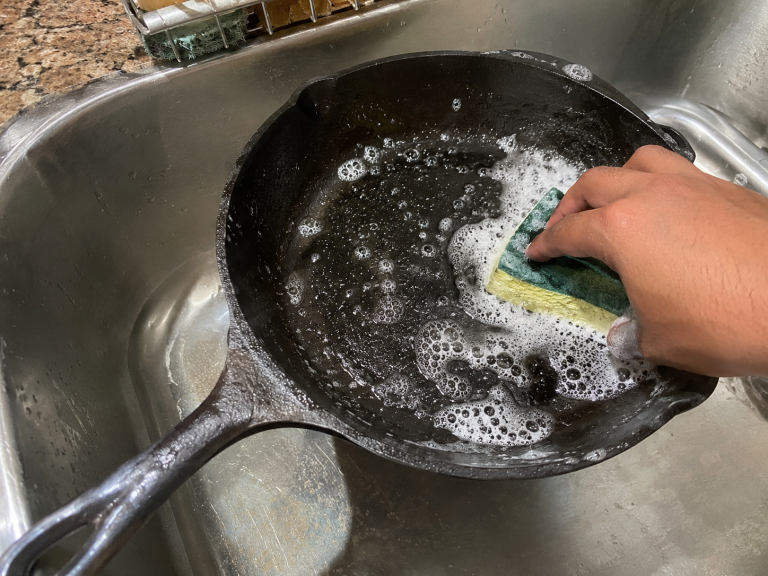
- Add two drops of mild liquid dish soap and scrub the cooking surface, sidewalls, handle, and bottom with a nylon brush.
- Rinse thoroughly until the water runs clear and no suds remain.
- Dry the skillet immediately with a cotton towel—never let raw iron air-dry, or orange flash rust will appear within 10 minutes.
Step 2: Warm the Skillet to Open the Metal Pores
Cold iron repels oil and forces you to apply way too much. Warming the pan first lets a microscopic film spread evenly across every bump and corner.
-
- Place your oven rack in the center position and put a sheet of foil on the rack below it to catch any stray drips.
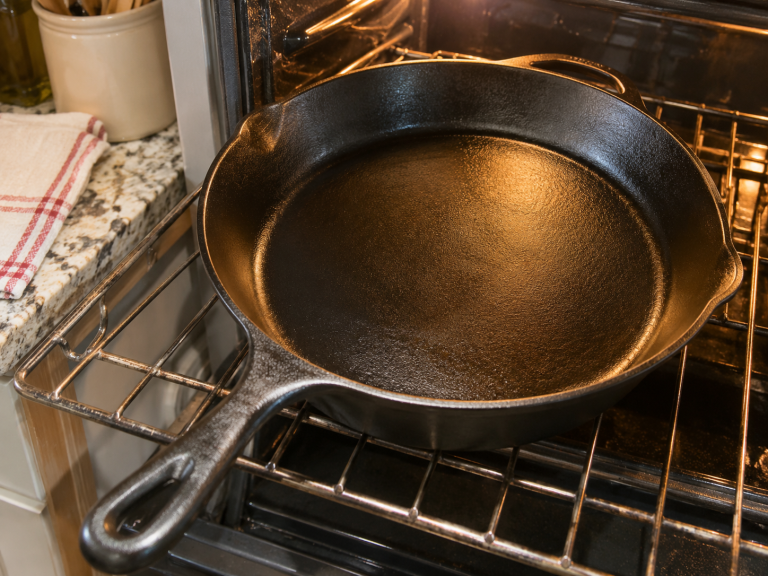
- Set your oven to 200°F (93°C) and put the dry skillet inside upside down for 15 minutes.
- Pull the pan out using oven mitts—it should feel hot to the touch, similar to a fresh mug of coffee, without smoking.
Step 3: Apply an Ultra-Thin Layer of Oil (The “Wipe It Dry” Rule)
Ninety percent of seasoning failures happen right here because people leave too much oil on the metal. Thick oil pools up in the oven and bakes into gummy, uneven droplets instead of a hard polymer shell.
-
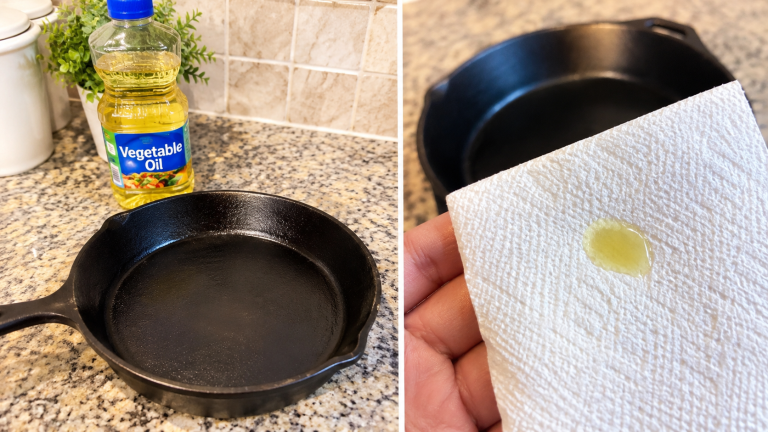
- Pour 1/2 teaspoon of grapeseed or canola oil into the center of a 10-inch or 12-inch warm skillet (use 1/4 teaspoon for an 8-inch pan).
- Use your first cotton cloth to rub the oil over the entire skillet—cooking surface, inner walls, outer rim, handle, and bottom.
- Grab your second, completely clean cotton cloth and wipe the entire pan aggressively as if you made a mistake and want every drop off.
- Inspect the surface under bright kitchen light: the iron should look dark and satin-matte, with zero wet sheen or pooled puddles.
Step 4: Bake Upside Down at 450°F for 1 Full Hour
To turn liquid oil into polymerized seasoning, you must push the oil just past its smoke point and hold it there long enough for the molecules to cross-link onto the metal.
-
- Crank your oven up to 450°F (232°C)—or 475°F (246°C) if you are using refined grapeseed or avocado oil.
- Turn on your stove exhaust hood and crack a kitchen window; a faint, toasted-oil smell is completely normal around the 25-minute mark.
- Place the skillet upside down on the center rack so excess oil cannot pool in the cooking well.
- Bake for 60 full minutes at target temperature.
- Turn the oven off and leave the door closed for 45 to 60 minutes until the pan cools down to around 150°F (warm enough to handle with dry mitts, cool enough not to burn your skin).
Step 5: Repeat for the Right Number of Coats
One bake cycle is rarely enough to protect a brand-new skillet from acidic foods or metal spatulas. Match your coat count to how your pan arrived out of the box:
-
- Factory Pre-Seasoned Skillets (like standard Lodge pans): Apply 2 oven coats over the factory base. This smooths out the rough sand-cast texture and seals any thin spots on the rim.
- Raw, Unseasoned, or Machined Smooth Skillets: Apply 3 to 4 oven coats from scratch. Between each coat, let the pan cool to roughly 150°F–200°F, wipe on another 1/2 teaspoon of oil, buff it dry with your clean cloth, and bake upside down at 450°F for 60 minutes.
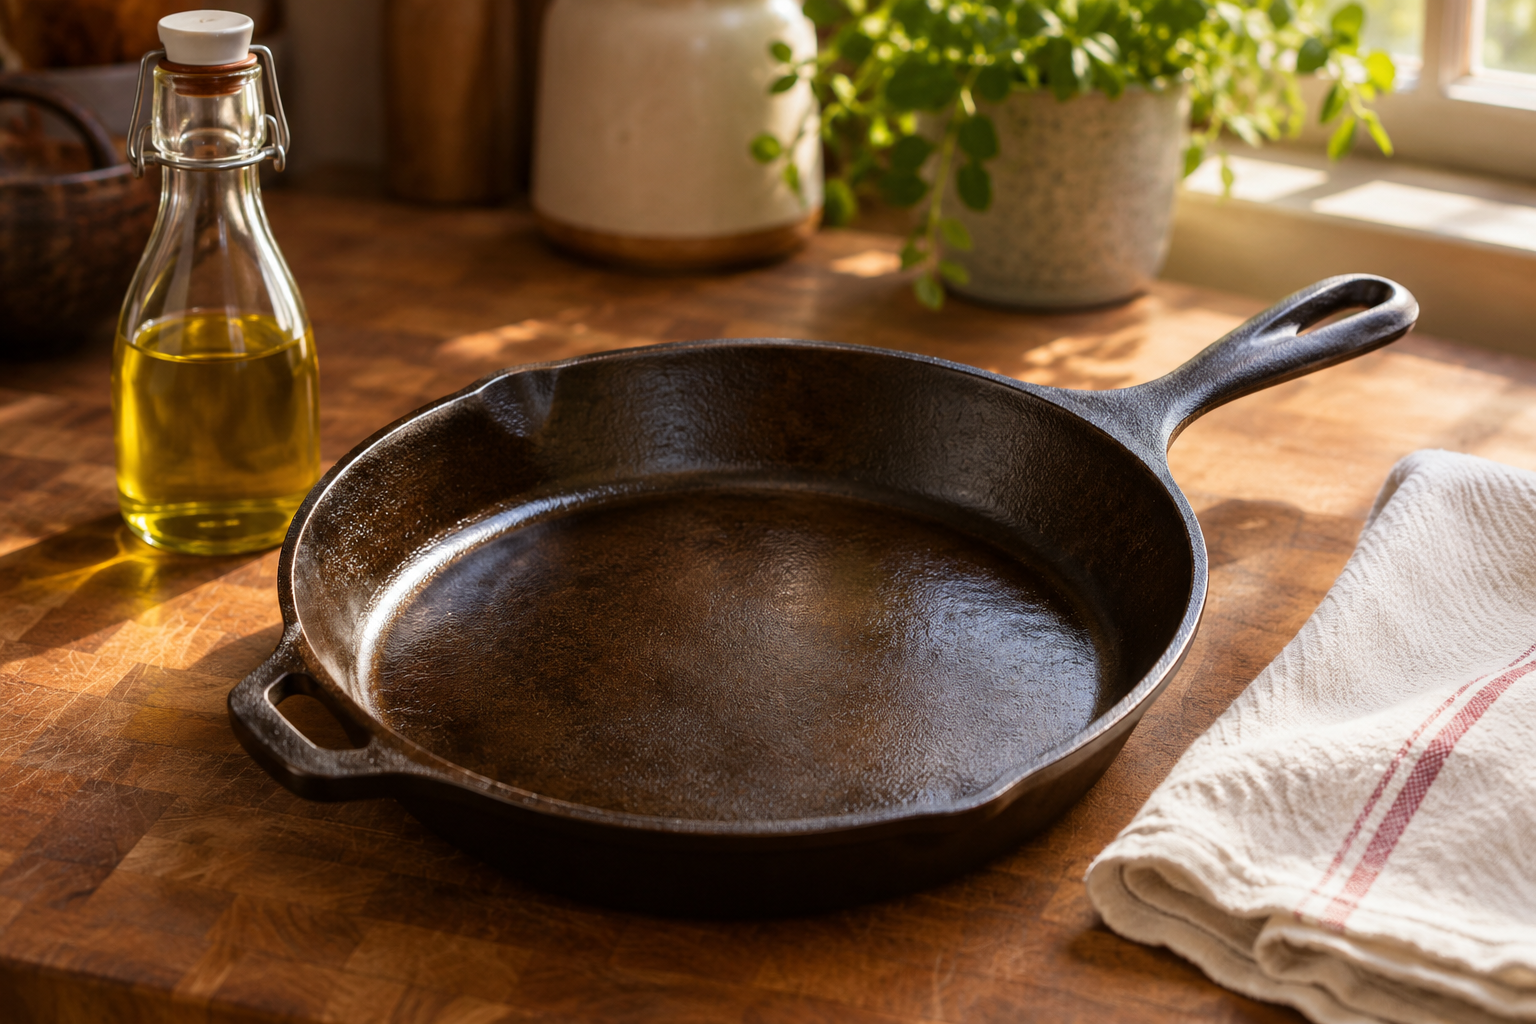
When finished, a properly seasoned skillet feels dry, smooth, and hard like satin-finish slate—never tacky or greasy when you drag a fingertip across the center.
What Goes Wrong in Real Life (And How to Fix It)
Scenario 1: The Pan Comes Out Sticky or Leopard-Spotted
You pull your cooled skillet from the oven and notice shiny brown blobs, streaks, or a tacky surface that grabs your fingers. This happens when leftover oil beaded up during baking or the oven temperature stayed below the oil’s smoke point.
-
- The fix: Do not add more oil. Put the sticky skillet right back into the oven upside down at 475°F for 45 minutes to finish baking off the excess tacky residue. If thick gummy puddles remain, scrub the spots down with coarse kosher salt and a stiff brush, wipe with a drop of oil, and bake again for 1 hour.
Scenario 2: Your Smoke Alarm Goes Off 20 Minutes Into Baking
Thick white smoke pours out of your oven vents, and the kitchen smells like burnt French fries. Either you skipped wiping the pan dry with a second cloth, or your oven runs 25°F–40°F hotter than the dial says.
-
- The fix: Turn on fans immediately and lower the oven dial by 25°F (down to 425°F). Check your oven’s true temperature later with a $10 hanging oven thermometer—many home ovens swing wildly past 450°F and burn off seasoning into gray ash.
Common Mistakes I Made (And How to Avoid Them)
-
- Using flaxseed oil because a blog called it “the best”: Pure flaxseed oil bakes into a gorgeous glossy black shell at first, then flakes off in brittle black chips into your food three weeks later. Stick to grapeseed, canola, or refined sunflower oil for flexible, durable layers.
- Seasoning right-side up: Even a paper-thin swipe of oil migrates toward the lowest point as it heats up. Always flip the skillet upside down on the rack so gravity pulls any microscopic excess away from the cooking floor.
- Testing the new seasoning with eggs or tomatoes first: Fresh oven seasoning is still fragile until you cook with fat a few times. Break in your newly seasoned skillet by frying bacon, sautéing onions in butter, or baking cornbread for the first 3 to 5 meals.
- Pulling the pan out early at 30 minutes: Half-baked oil stays soft and wipes right off onto your dish towel during the first wash. Give every coat the full 60 minutes at 450°F plus the closed-door cooldown.
Frequently Asked Questions
How many coats of seasoning does a new cast iron skillet really need?
Two coats over a factory pre-seasoned skillet—or three to four coats on bare raw iron—is plenty. Putting on 8 or 10 oven coats before cooking wastes electricity and makes thick layers more likely to chip later.
Can I season a new cast iron skillet on the stovetop instead of the oven?
You can do quick maintenance touch-ups on a burner, but always use the oven for a brand-new skillet. Stovetop burners only heat the bottom cooking center, leaving the sidewalls, exterior, and handle vulnerable to rust.
Why does my skillet look bronze or dark brown instead of jet black?
Freshly polymerized grapeseed or canola oil always starts out a deep translucent bronze or dark amber color. It only turns jet black after 10 to 15 cooking sessions as carbonized food fats bond into the base layers.
Do I need to wash a brand-new skillet with soap before seasoning?
Yes, use two drops of mild dish soap during this initial prep wash to strip factory protective wax and dust. Once your seasoning layers are baked on, switch to hot water, a stiff brush, and a chainmail scrubber for daily cleanup.